|
Plant Markers:
How to Make Them, Part Three
- Attaching an Accent Tile
|
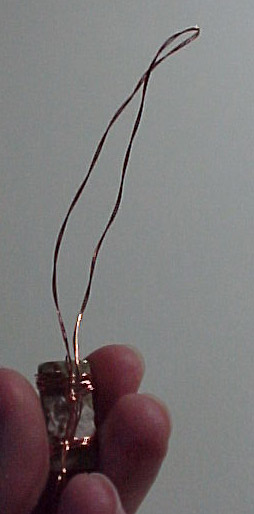
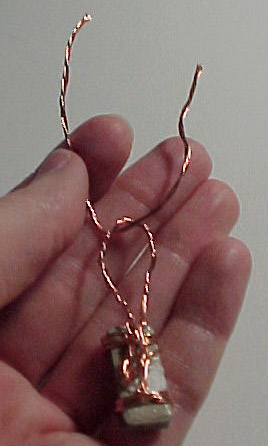
Step 12: Now we will make a loop at the top
of the tile. Fold the leftover wire double, and twist it together
tightly so it forms a four-stranded wire.
|
|
|
|
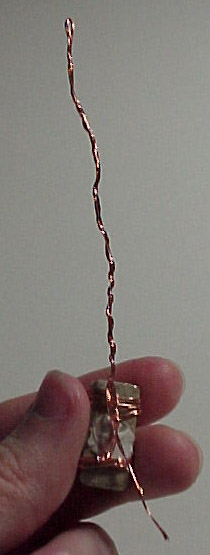
Step 13: Fold the wire down into a loop and
secure by twisting the ends around until you have an attractive loop - you
may want to pass an end through the center again for extra security.
|
|
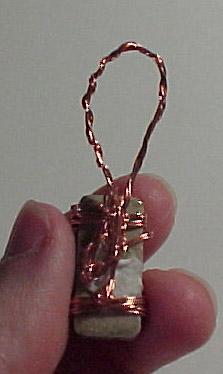
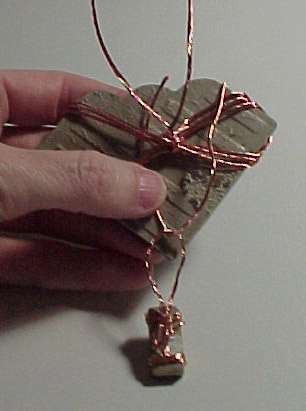
Steps 14 & 15: Cut a three-inch piece of
the leftover 5-stranded wire and pass it through the loop at the top of the
accent tile, then through the figureeight of wire on the back of the main
tile.
|
|
|
|
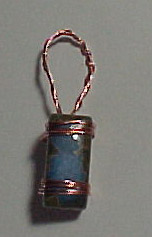
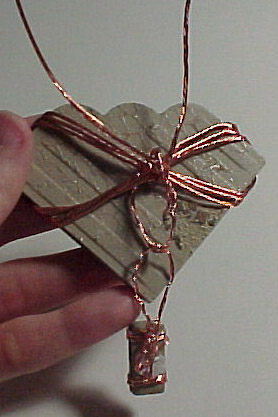
Step 16: Twist the ends of the wire around
each other tightly to secure the loop. In order to make the accent
tile dangle, manipulate the new loop with the needlenose pliers so it
stands out from the main tile and so the accent tile dangles at th correct
angle.
|

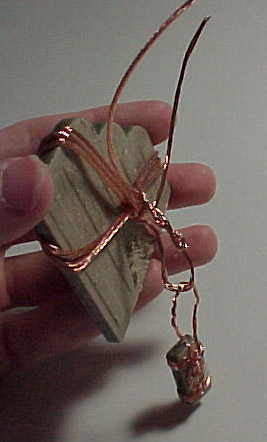
A finished marker in this style.

This one was made using two accent tiles, which were wrapped around the
middle. The entire bottom construction is rigid and dangles from the
top because the tiles would not dangle properly individually when placed
sideways. This one looks more Art Deco, while the first is more Art
Nouveau...
Next - Attaching a Round Marble.
Top
Home ** What's New? ** How It All Started
* Garden Update October 2004 * Garden
Diary 2008 * Garden Diary 2009 * Garden Diary 2010 * Garden
Diary 2011 ** New! Garden Diary 2012
** Rose and Perennial Court * Rose Update Feb 2003 * Front Garden Update 2008-9 * Behind the Wall * Herb Circle * Tropical Edibles
Area ** New! Growing
Dinner: Visit to a Homegarden ** Potager
* Potager 2004-5 * Potager Plan
2008-9 * Edibles 2008-9 * Crop Chart
2008-9 * Edibles
Planting Schedule * Warm Season Planting 2005 * Succulent Beds * Wild Edibles *
Caterpillars to Butterflies * Building Healthy Soil
* Ecological Gardening
* Index of Plants and Techniques Featured * Annual Vegetable Chart * Long Lasting Markers: Jewelry for Your Plants * Build a Gardening Notebook
|